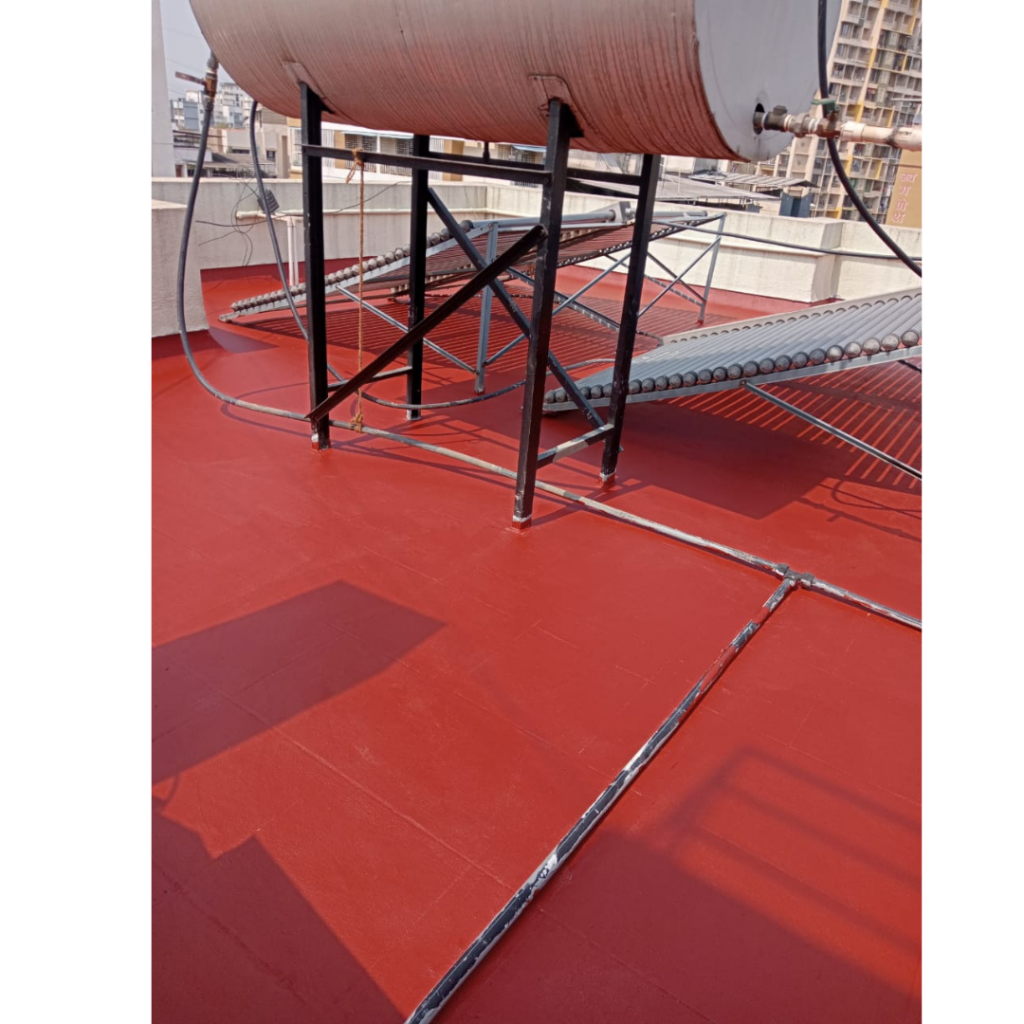
The Process of Terrace Waterproofing
Terrace waterproofing is essential for protecting buildings from water seepage and structural damage. Without proper waterproofing, moisture can penetrate the surface, leading to cracks, leakage, and weakened construction. In this guide, we explain the waterproofing process step by step to ensure a durable and leak-proof terrace
Why Terrace Waterproofing is Essential
Waterproofing a terrace prevents issues like:
- Water seepage through ceilings and walls
- Mold and fungal growth due to trapped moisture
- Structural weakening caused by continuous exposure to water
- Damage to interior spaces, furniture, and electrical fittings
By applying the proper waterproofing techniques, you can significantly extend the lifespan of your building and maintain a dry, healthy living space.
Types of Terrace Waterproofing Methods
1. Liquid Waterproofing Membrane
This involves applying a thin, flexible liquid coating that forms a waterproof barrier. It is ideal for terraces with complex shapes and provides long-lasting protection.
2. Bituminous Coating
A bitumen-based waterproofing solution that creates a strong, water-resistant layer. It is commonly used for concrete roofs and exposed surfaces.
3. Cementitious Waterproofing
A cement-based mixture is applied to the terrace to create a water-resistant surface. This method is commonly used in old buildings and is easy to apply.
4. Polyurethane Waterproofing
This involves using a polyurethane-based sealant, which forms a highly elastic and durable waterproof layer. It is particularly effective against heavy rainfall and extreme weather conditions.
Step-by-Step Terrace Waterproofing Process
Step 1: Surface Preparation
- Clean the terrace thoroughly, removing dirt, dust, and debris.
- Identify existing cracks and damages that need repair
- Ensure proper slope and drainage to prevent water accumulation
Step 2: Crack and Joint Treatment
- Fill all visible cracks using a high-quality sealant or mortar.
- Apply a primer coat to improve adhesion for the waterproofing layer.
- Reinforce weak joints with waterproofing tape or mesh.
Step 3: Application of Waterproofing Coating
- Choose a waterproofing solution based on your terrace type.
- Apply multiple layers for better durability, allowing each coat to dry before applying the next.
- Use a brush, roller, or spray machine for uniform application
Step 4: Curing and Final Inspection
- Allow the waterproofing layer to cure for the recommended time.
- Conduct a water ponding test to check for any leaks or weak spots.
- Ensure all areas, including edges and corners, are properly sealed.
Common Mistakes to Avoid in Terrace Waterproofing
- Ignoring Surface Preparation: Failing to clean and repair the surface before waterproofing can reduce effectiveness.
- Using Low-Quality Materials: Cheap products may not provide long-lasting protection.
- Skipping Multiple Coats: A single layer of waterproofing may not be enough to prevent leakage.
- Neglecting Proper Drainage: Poor water flow can lead to standing water, which damages the waterproofing layer.
How to Maintain a Waterproofed Terrace
- Conduct regular inspections for cracks or weak spots.
- Clean the terrace periodically to prevent dirt buildup.
- Reapply waterproofing coatings every few years for enhanced durability.
- Ensure proper drainage and remove stagnant water immediately.
Conclusion
Terrace waterproofing is a crucial step in maintaining a durable and leak-proof structure. By following the right process and avoiding common mistakes, you can protect your building from water damage and costly repairs. Invest in quality waterproofing solutions to ensure a long-lasting and weather-resistant terrace.
Comments
One response to “The Process of Terrace Waterproofing”
-
“Great insights on terrace waterproofing! Proper waterproofing not only protects the structure but also enhances the life of the building. Just like safeguarding our homes, investing in secure farmland property is equally important. For those interested, you can also explore trusted farmland opportunities at mahabhoomi.site
Leave a Reply